When I was capturing photographs I wanted to demonstrate my images towards an artist that I chose, Dariusz Szwedo.
The reason on why I took a liking to Dariusz Szwedo's portraits was purely because I found them interesting. I have shown images of his work on my second idea when I was showing my intentions for when it came down to producing it.
The image below is one of the ones that I found interesting and different as this image isn't just one tone of colour, it's a multiple of different shades in different places.
Moriarty of portraits that you tend to see everywhere are similar to one another. For example, well lit high key lighting (meaning no shadows) or black&white.

To try and recreate a similar image to the one I chose was to photograph the model in college studio.
I used a mix of soft boxes and different background drops. White & black, etc.
To get my final image that I wanted to edit I didn't just take one image, I took numerous of them to show a 'process'. (This is shown below)


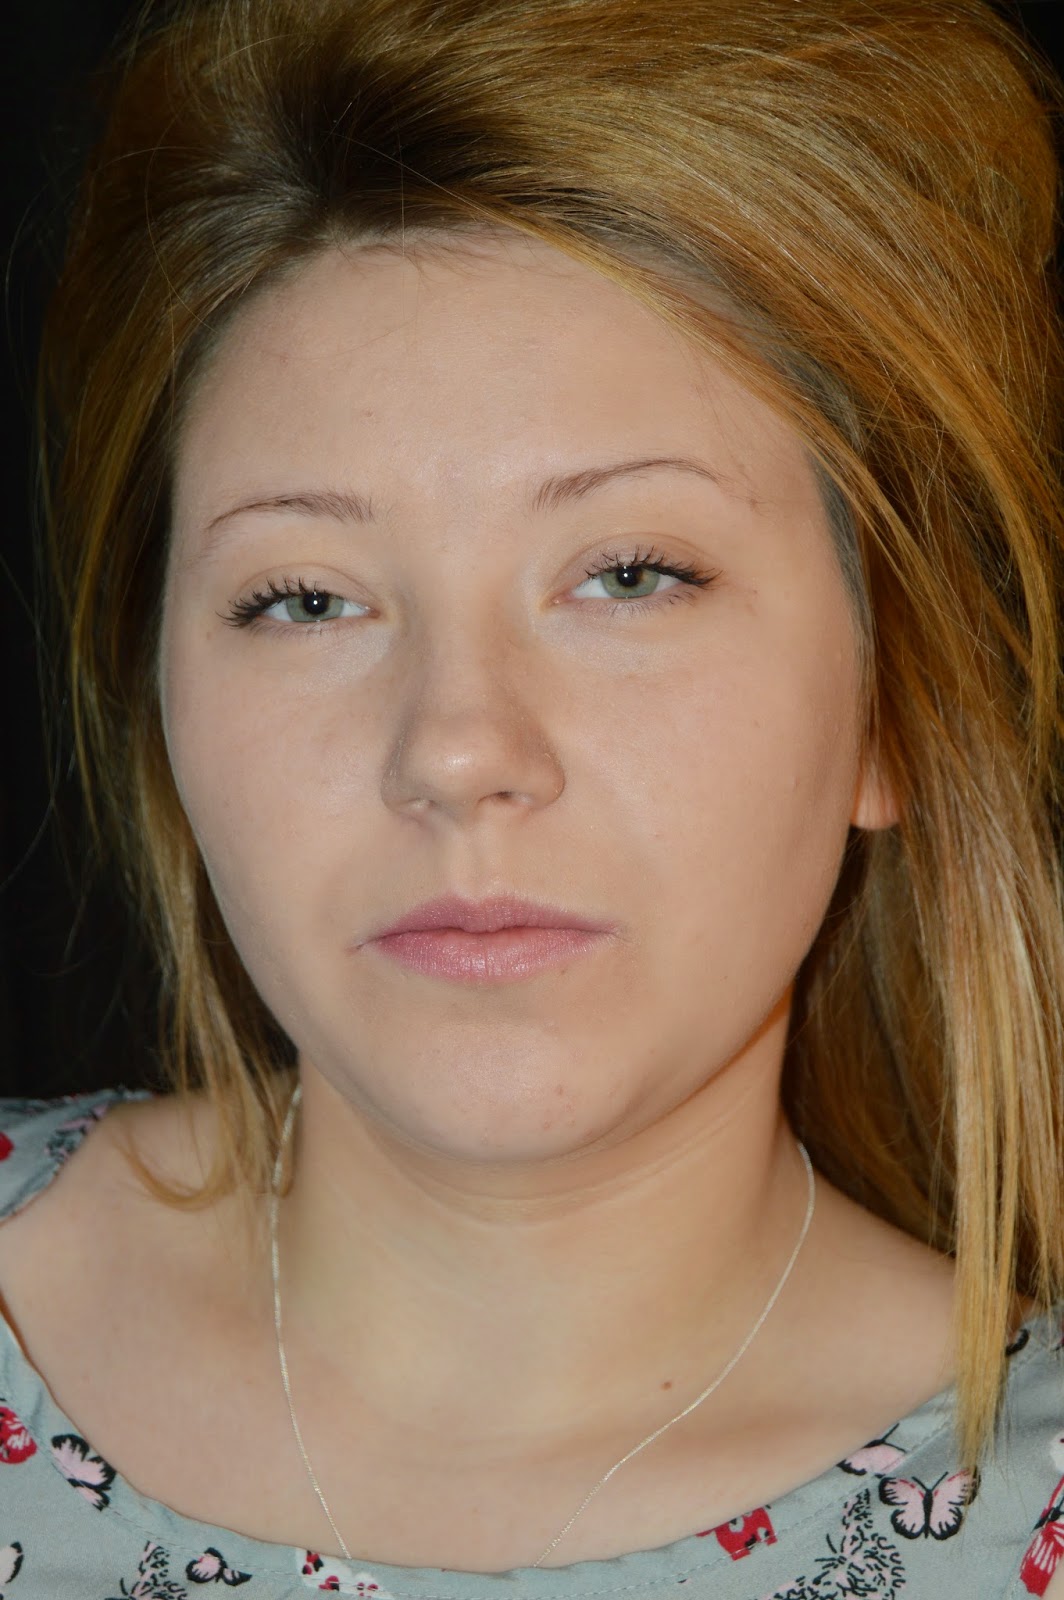


The photo that I chose to edit
How did I accomplish my final outcome?
Step one was to upload my own captured image and the original photo that I was going of into Photoshop and use the 'crop' tool. The reason on why I used the crop tool was because the photograph that I captured was taken with my camera side ways and for the finishing look that I was going for I needed it to be more of a box shape rather than rectangle. Once the cropping was done I then focused on airbrushing the models skin, airbrushing is definitely required for the kind of look that I was going for purely because the portraiture that I wanted to do is more on the glamorously, poesy side. I did this by using the 'spot healing' brush tool. I then went on to using the 'polygon lasso' tool, I used this tool to go round certain places on where I wanted to add the different colour tones, this was done by using the 'eyedropper' tool and the 'paint bucket' tool. I used that tool to get the exact same colour shade of the picture that I was going of and then I would just simply fill where I wanted it. I then enhanced the colour of the eyebrows using the 'brush' tool, along with using the 'saturation' tool to enrich the colour. Otherwise you wouldn't be able to strongly notice them. I also went onto making her eyelashes longer, thicker and darker. This was done by using the 'lasso' tool and the 'paint bucket' tool.
This then resulted in this (image shown below)

After I got the finishing look that I was going for, I then wanted to make it more of my own and clone the image to make it look like an reflection. I did this by copying the background layer and move the other layer slightly up away from the face and messed around with the opacity and then changed the colour effect to black and white.
And then this led to my final outcome.

No comments:
Post a Comment